


Seller Photos posting Guide
Seller Product Photography
Seller Photos Posting Guide
Use the guide below to take product photos more effectively and present your listings in a clear, professional, and trustworthy way.
How to Take Photos with Effective Posting
You may follow the guide below to capture all required angles and important details before posting your product online.
Required Product Photo Angles
To improve buyer confidence and help your product sell faster, make sure you include all the important angles and close-up details shown below.
1
Front Photo
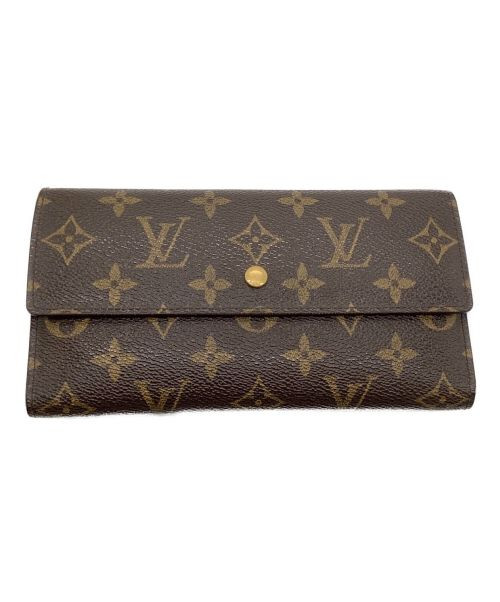
Capture the full front view of the product clearly and neatly.
2
Front Slanting Photo
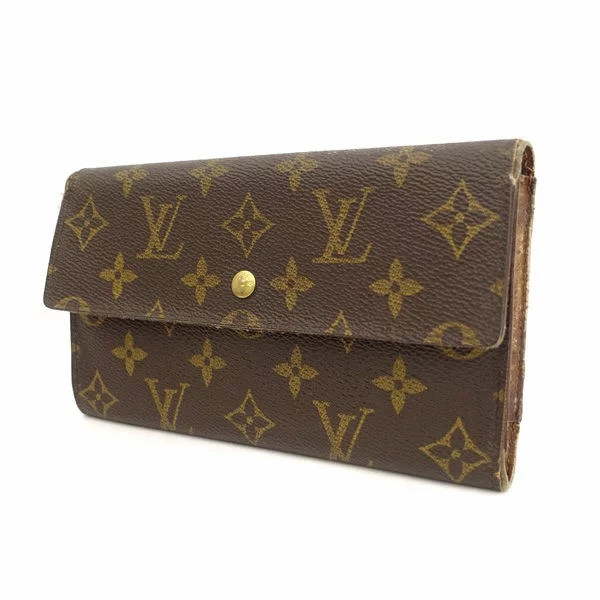
Show the front angle from a slight side slant to display shape and depth.
3
Side Photo
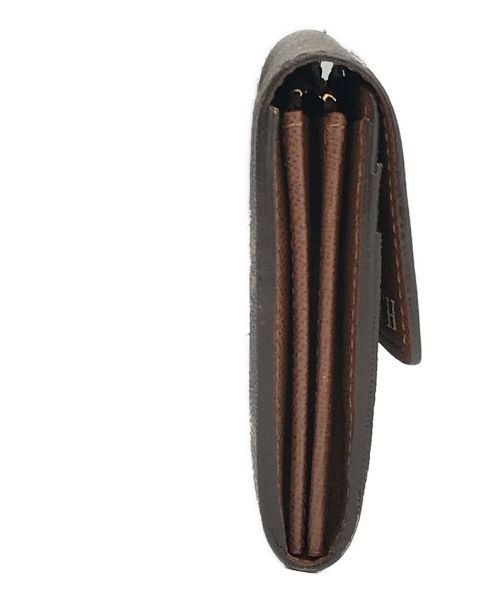
Show the side profile clearly so the buyer can understand width and structure.
4
Back Photo
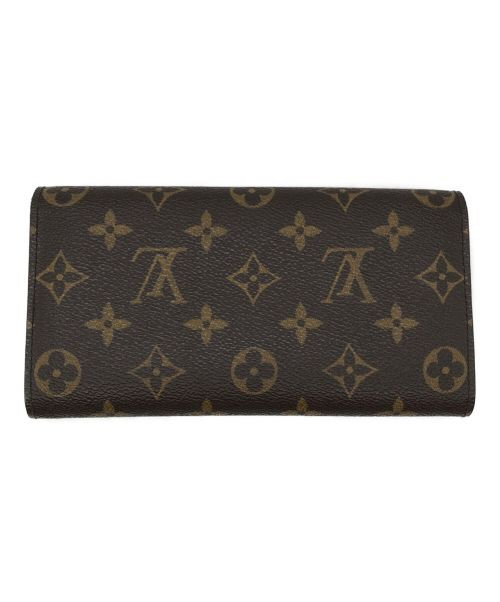
Include the full back view of the item for complete visual coverage.
5
Side Edge Photo
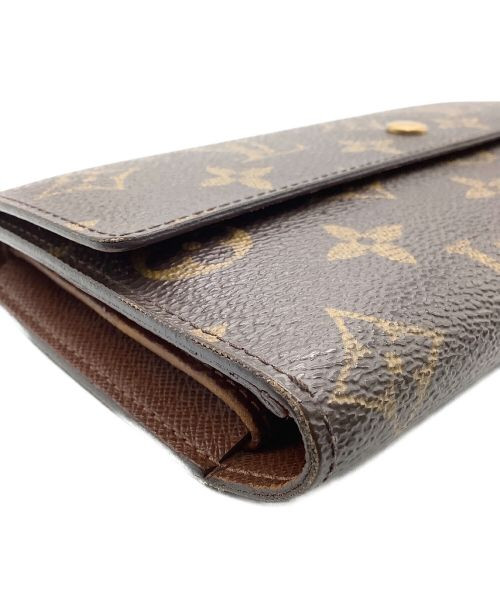
Show the edge condition clearly, especially corners and side profile details.
6
Inner Photo
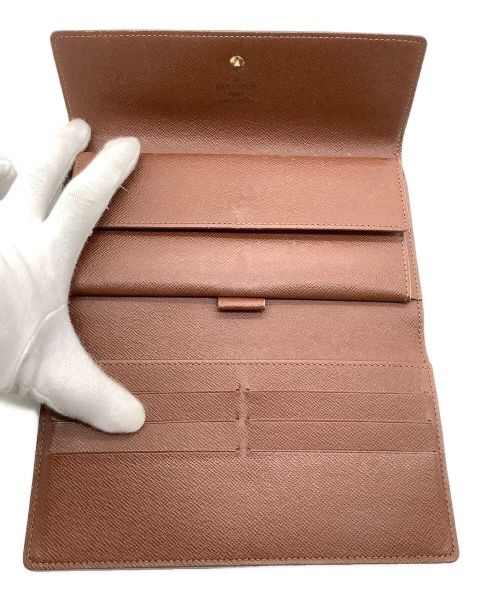
Take a clear picture of the interior to show condition, cleanliness, and structure.
7
Inside Pocket Photo
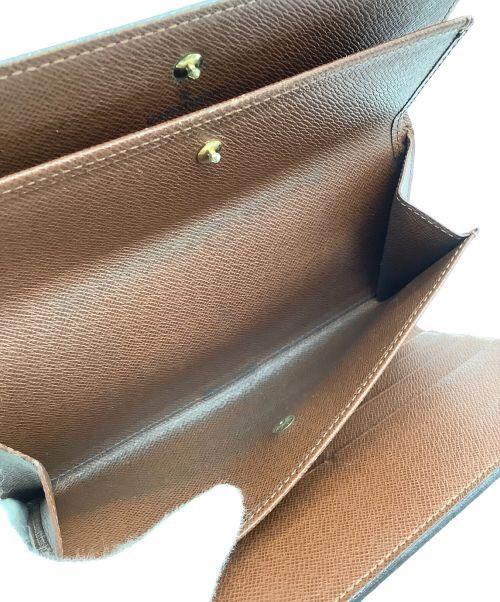
Show inside pockets and compartments for a more complete product view.
8
Zipper and Hardware Photo
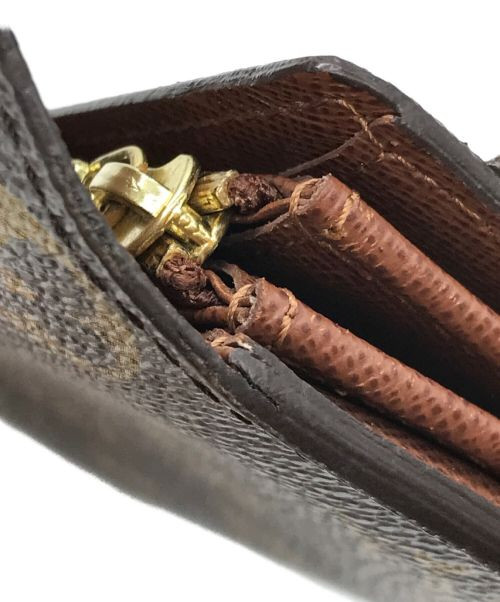
Capture zipper, buttons, locks, and hardware to show condition and authenticity details.
9
Defects Photos
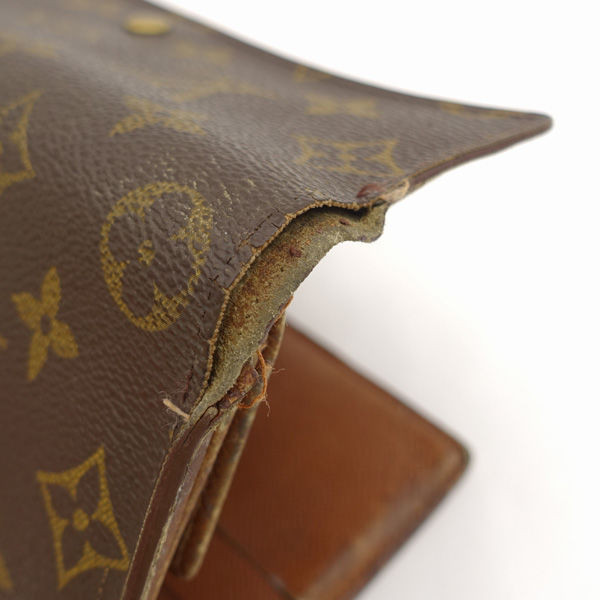
Always show any visible defects clearly to maintain transparency and buyer trust.
For better results, use bright natural lighting, keep the background clean, and make sure your images are sharp and not blurry. Clear product photography helps buyers feel more confident and increases the chance of faster sales.
Ready to Improve Your Product Listings?
Follow this photo guide carefully so your products appear more professional, complete, and attractive to potential buyers on BrandLuxJP.
Go to Seller Account